Providing Award Winning Landscaping Services to the Delaware Valley Including Glen Mills, Garnet Valley, Media, and West Chester, PA

Google Business

Houzz

Faceboook Business


Looking for a job in landscaping? Cider Mill Landscapes is hiring.
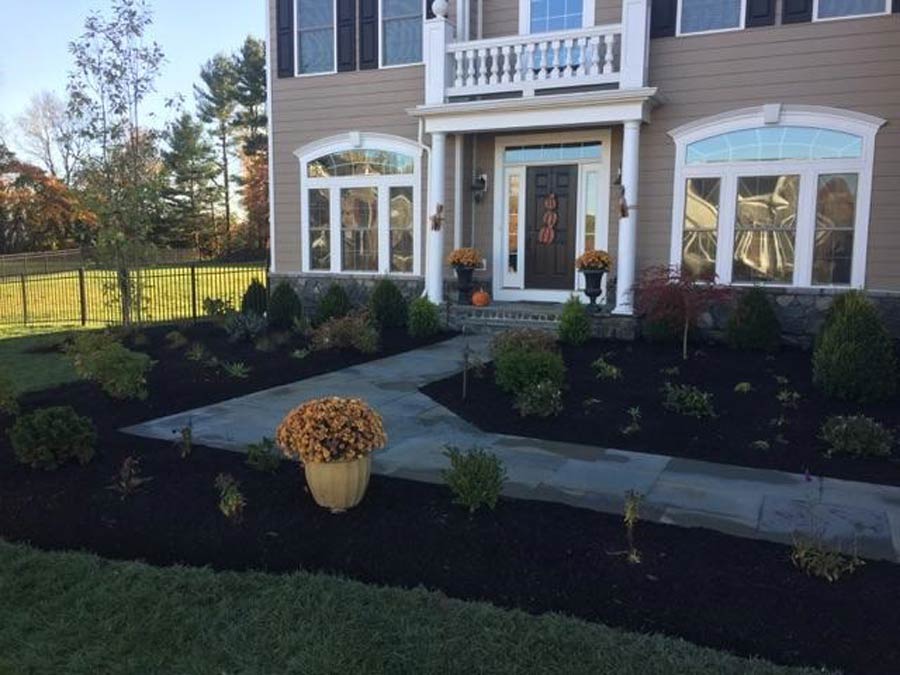
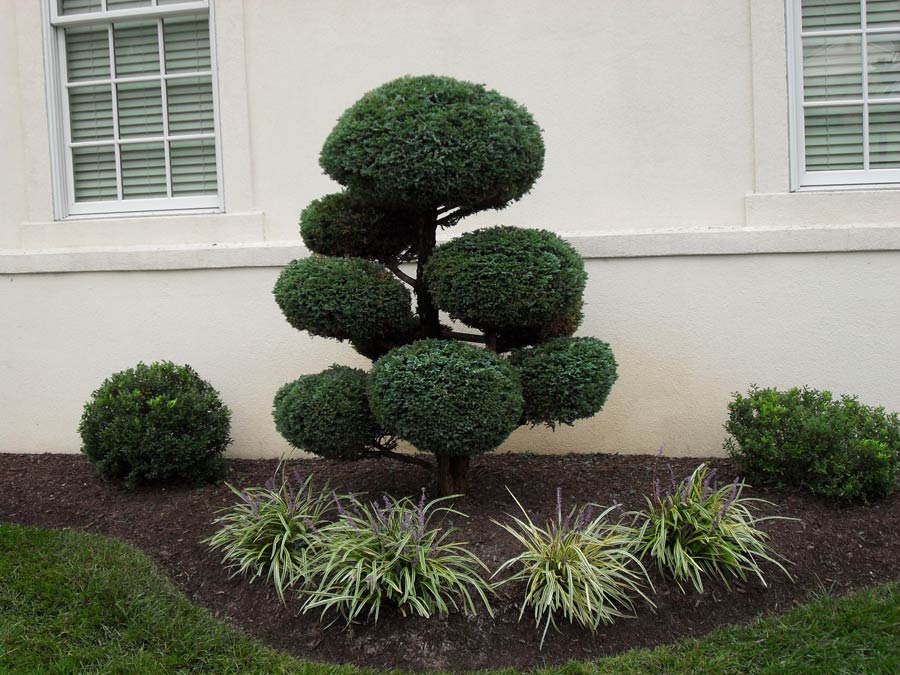
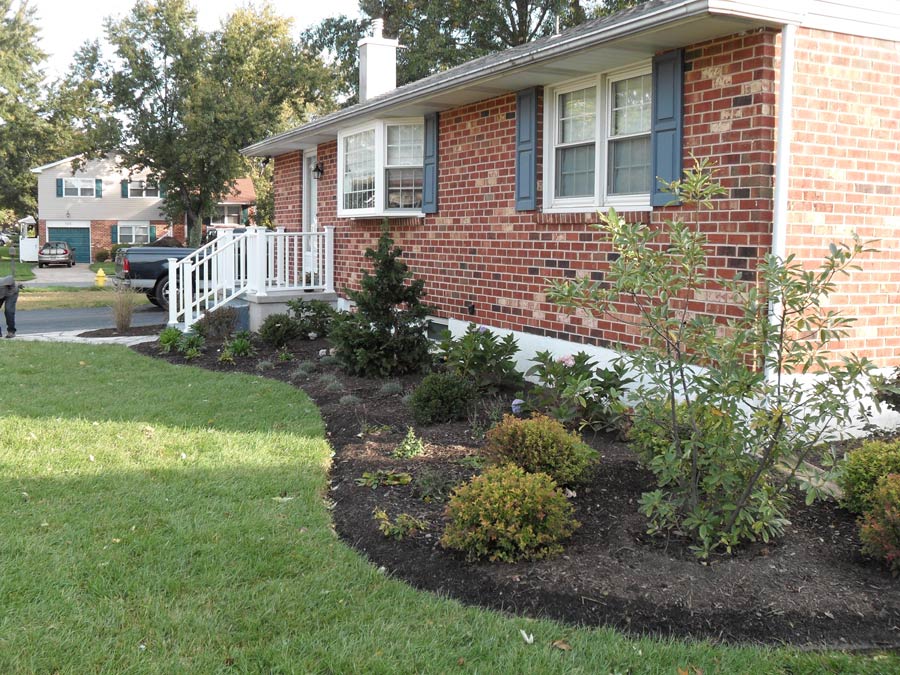
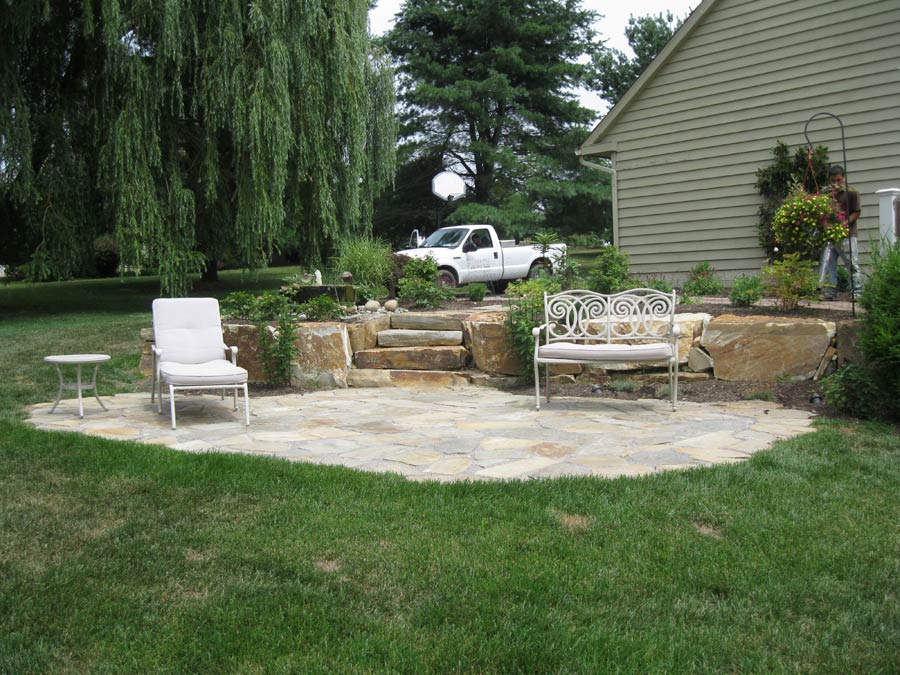
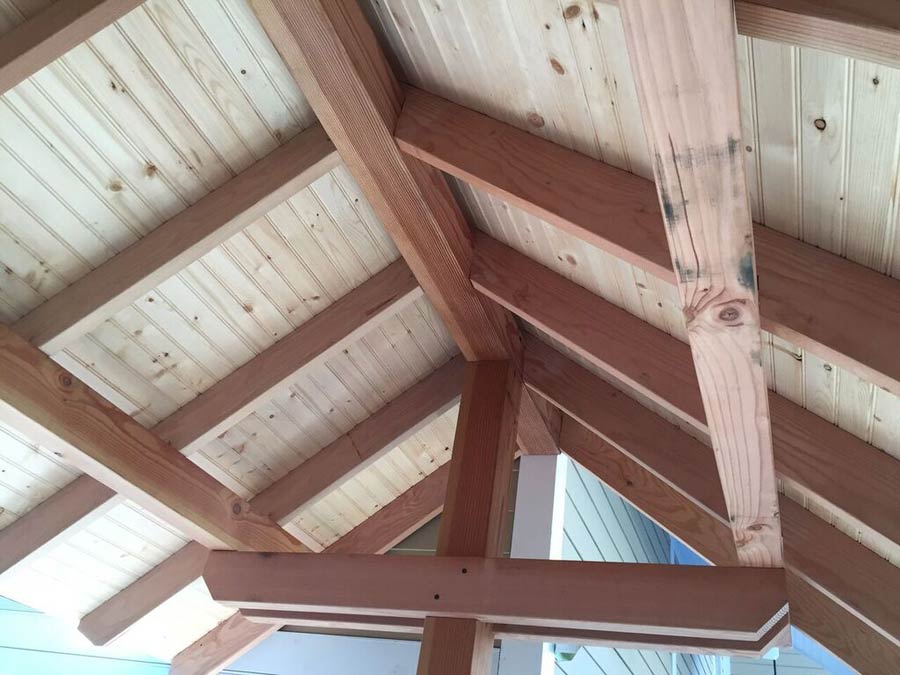
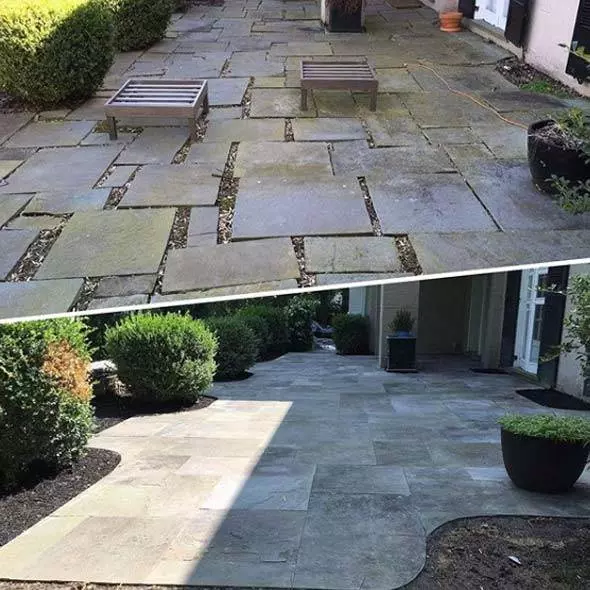
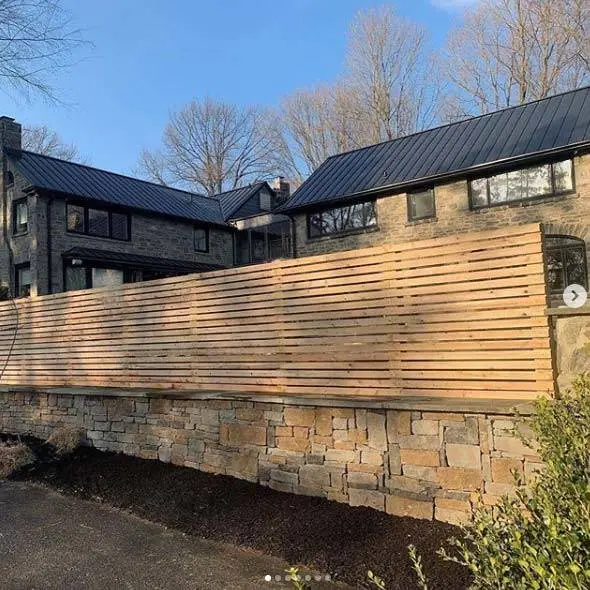
Featured Landscaping and Hardscaping Projects
Cider Mill Landscapes uses distinctive details to maximize the potential of every project. We are fortunate enough to handle all phases from design to installation. Allowing us to provide highly custom and detailed projects.
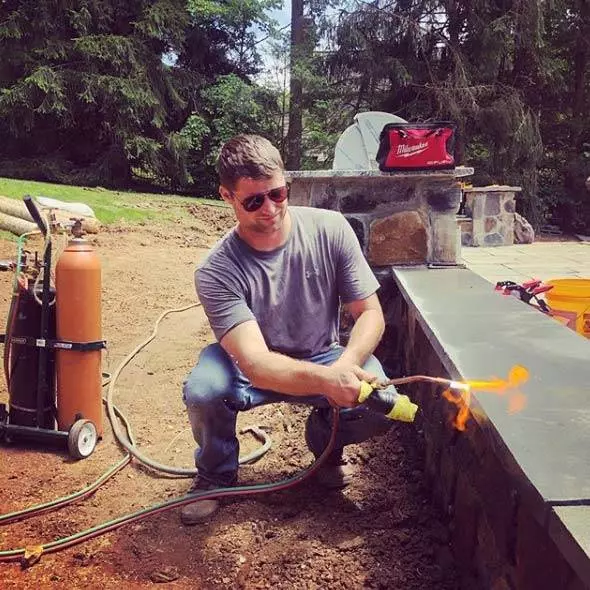
Backyard Slope & Patio

Backyard Pool Project

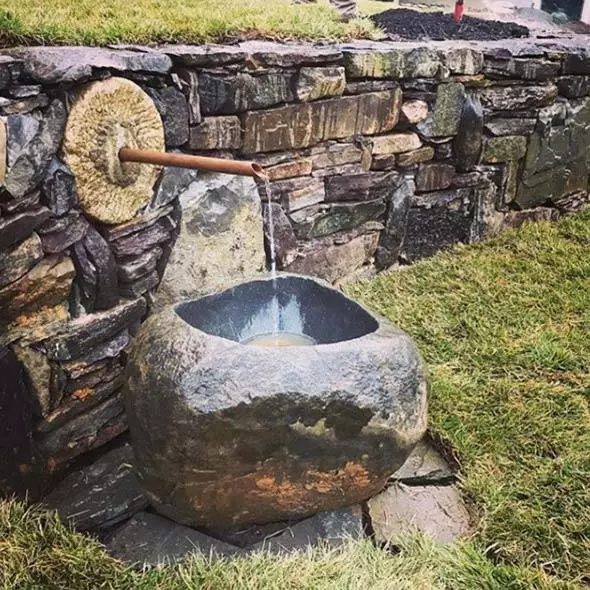
Landscape & Water Feature

What Our Clients Say About Us

Cider Mill is great, very well run and professional. I continue to use them for all my landscaping and lighting needs. Eric is a great guy. I highly recommend
Seth Feldman | Google + Review

The work is timely, efficient and leaves your front or back yard renewed and beautiful. I recommend Cider Mill Landscapes to my family and friends and will use them again.
Charissa Butrica | Houzz Review

[Bob] was great to work with and has been very responsive to help us with questions and issues we had. I would highly recommend them.
Ro Marroletti | Houzz Review
Our Landscaping Services
Landscape Design
Horticulture Expert
Garden Maintenance
Custom Hardscaping
Landscape Architecture
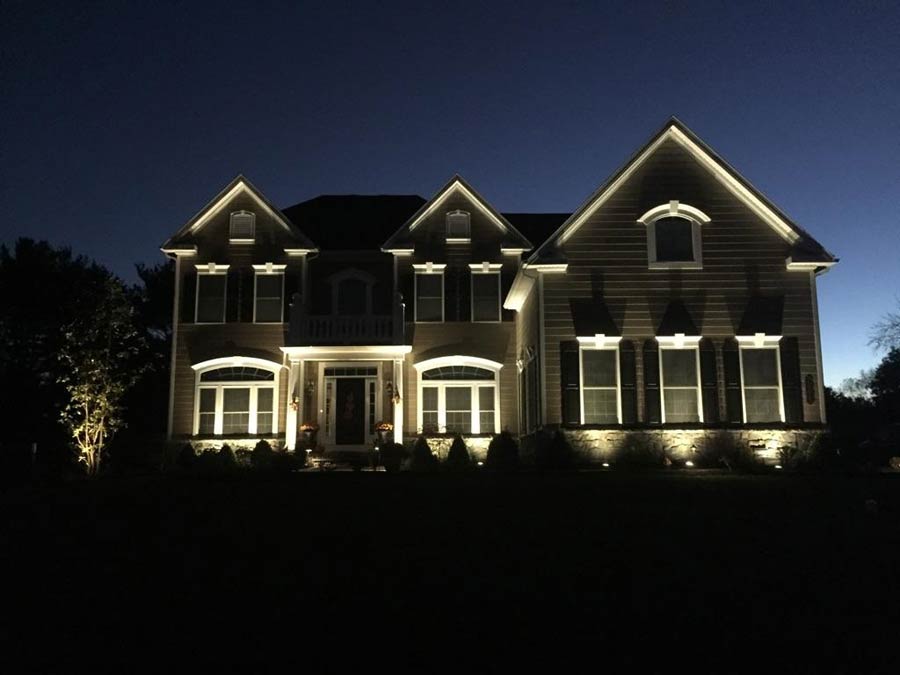
Landscape Lighting
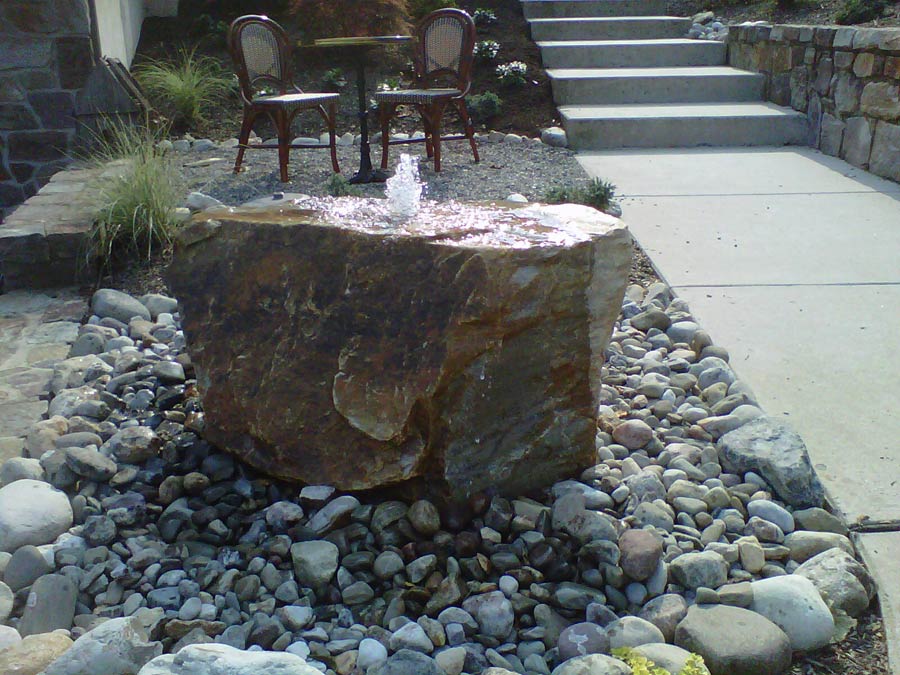
Water Features

Yard Drainage
What Our Clients Say About Us

I highly recommend Cider Mill Landscapes. The entire crew is knowledgable and fantastic. The trees they put in for us were large and very nice. We did a total remodel of our backyard and it looks amazing! They designed our backyard and delivered what they promised.
Michelle | Google + Review

What a team! The entire crew who cleared invasive vines & installed 4 beautiful trees on our property went up & beyond – working hard for 3 days. We are thrilled with the final design! I love looking out of my windows & seeing the gorgeous, lush row of trees now!
Erin Cech | Google Review

We recently hired Cider Mill Landscapes to have a flagstone patio installed and could not have been happier with the experience. From the initial consultation through the completion of the project, Hillary was great to work with…The results of the patio exceeded our expectations.
Chris Katsikis | Google Review
Recent Landscaping Projects in Pennsylvania and Delaware

Landscaping Articles
The Best Hot Weather Plants and Practices to Beat the Heat
When the temperatures get hot, working or playing, outdoors uncomfortable and dangerous if you don't exercise common sense. While the heat takes its toll on our outdoor activities, it also makes an impact on our landscapes. Especially if your trees and plants were not...
Glen Mills, PA Landscape Design Project
We love projects big and small at Cider Mill Landscapes, but what we make sure to do is pay really close attention to the details no matter what the size of the job we do. Sure we could just lay some stone, shove a few plants in the ground, and be done with it, but we...

Cider Mill Landscapes Nursery Welcomes Colorful Spring!
Spring is in full bloom at Cider Mill Landscapes, especially within our nursery --- that's right, I said "our nursery." Here at Cider Mill Landscapes, we have our very own nursery facility encompassing over 20 acres of family-owned land, with 7+ acres solely...
Our Pennsylvania Landscaping Management Team
Every project is managed very closely by Bob McCusker. Site visits are typically daily.

Bob McCusker
Owner & Operator
Bob has more than 10 years of experience in landscaping in Pennsylvania and Delaware. As owner and operator, he carefully oversees the details of each design and installation project. His goal is to provide each client with a uniquely designed landscape that is expertly installed and maintained.
Pennsylvania Owned and Operated
Phone: (484) 574-4666
Fax: 484.841.6435
Email: projects@cidermilllandscapes.com
Address:
984 Shavertown Rd
Garnet Valley, PA 19060
Get Directions
Schedule a Landscaping Consultation
Call Us: (484) 574-4666
Fill out the form below and our landscape design consultant will contact you to set up your on-site free consultation. For landscaping in Pennsylvania or Delaware.
Your information will not be shared.
"*" indicates required fields
Cider Mill Landscapes
984 Shavertown Rd
Garnet Valley, PA 19060
Get Directions
Call: (484) 574-4666
Copyright © 2024